Creating a Dynamic SSH tunnel using MobaXterm on Windows 10
Creating a Dynamic SSH tunnel using MobaXterm on Windows 10
This is an example of how to setup an Dynamic SSH tunnel using MobaXterm. You can download MobaXterm from the Official Website.
There are 2 options available : Home Edition and Professional Edition.
Start MobaXterm and click on the Tunneling icon on the top. Then click on the New SSH Tunnel button:
Check the Dynamic port forwarding option and Enter following information and click Save
1. Forwarded Port: Can be any port.
2. SSH Server : SSH Server IP address through which the tunneling will happen
3. SSH Login : User id for SSH server.
4. SSH port : By default it will be port number 22.
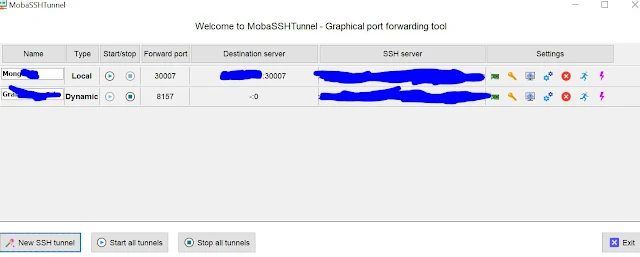
In the above case your service will be available at localhost:8157.
Click on the Start button to initiate the tunnel:

Add FoxyProxy Chrome extension. The extension can be found here.
Go to FoxyProxy "options" and add New Proxy.
Add "localhost" and port "8157" as proxy configuration.
Now you can Access your private Website.
Click on the Start button to initiate the tunnel:

Add FoxyProxy Chrome extension. The extension can be found here.
Go to FoxyProxy "options" and add New Proxy.
Add "localhost" and port "8157" as proxy configuration.
Now you can Access your private Website.


No comments